Table of Contents
Bicycle frames are stiff truss structures with little vertical compliance. As we’ve seen in my recent video about frame comfort, the majority of the vertical deflection at the back of the bike is actually found at the rear tyre, seatpost and saddle.
Today, we’ll be diving into the world of seatposts, and more specifically, suspension seatposts.
Given that cyclists often have 60 to 70% of their body weight on their saddle, I don’t know if there is any other component that offers as much of an improvement in ride comfort (assuming you’ve already optimised your tyre width and pressure).
The best bit is that a suspension seatpost upgrade is as little $100, and it’s very easy to install yourself.
6 Reasons To Use Suspension Seatposts
1. You can improve your comfort
A suspension seatpost both absorbs bigger hits as well as damping vibrations coming up from the road. The less strain your body experiences when you ride, the fresher you will feel at the end of the day… or, the longer you can ride!
2. You can stay seated for longer
Suspension seatposts allow you to pedal while seated on terrain that normally requires standing up. Compared to a rigid post on the same bumpy climb, I find that my legs often feel fresher simply because I’m standing up less.
3. You can reduce or alleviate lower back pain
It’s not uncommon to hear people with back injuries say that they couldn’t ride a bike without a suspension seatpost. By isolating vibrations and bigger hits from your body, you will put less strain on your lower back when you ride.
4. They make narrow tyre bikes much more capable
A suspension seatpost allows you to take bikes with narrow tyres on much rougher terrain than you normally could. Obviously, this isn’t an ideal situation, but you’d be surprised how off-road you can go on 38mm tyres!
5. Their performance is not height or weight dependent
The comfort of a regular seatpost is dependent on your body weight as well as the amount of exposed seatpost sticking out of your frame. As smaller riders often have less body weight and less exposed seatpost, they have the most gain with a suspension seatpost upgrade.
6. They are lighter, cheaper and more simple than a full-suspension bike
Rather than using a full-suspension bike (for comfort), you can fit a suspension seatpost to a hardtail and enjoy similar levels of comfort without the extra weight, price and complexity.
4 Reasons To Not Use Suspension Seatposts
1. The Weight
You can expect a 100-500 gram (4-18oz) weight penalty over a conventional aluminium seatpost.
2. The Suspension Bob
When you pedal, your body movements create forces that can activate the suspension. This bob will occur to varying degrees depending on the seatpost model and setup.
3. You Have A Full Suspension Bike
If your bike has rear suspension, your saddle is already suspended so you do not need a suspension seatpost.
4. You Have A Fat Bike
If you’re riding a bike with 4 to 5-inch wide tyres, those tyres are likely deflecting 30-60mm over bumps, which means that the benefits of a suspension seatpost are significantly reduced.
Deflection and Damping
There are two things suspension seatposts are looking to achieve:
1. A larger amount of vertical deflection (or taking the edge off bigger hits)
2. A higher level of damping (or vibration absorption)
Deflection is the total movement that a seatpost will move after an impact. A seatpost with more deflection will reduce the fatigue on your body as it protects you from harder jolts like unexpected potholes or dirt road corrugations. It’ll also allow you to keep pedalling through particularly bumpy terrain.
Damping determines the speed at which a seatpost will move over repeated bumps. A seatpost that dampens vibrations effectively will help to insulate you from road buzz coming up through your bike.
High exposure to vibrations can actually increase the risk of various injuries, including lower back pain and spinal degeneration. This is why vibration exposure is often regulated in industries that require driving or operating heavy machinery.
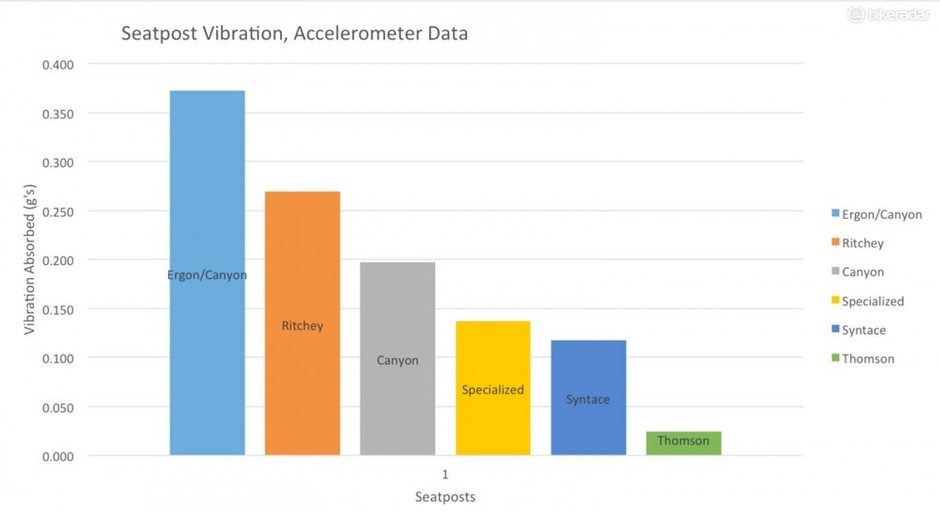
When we measure seatpost vibrations in a laboratory setting, we find that some seatposts can absorb 15x more vibrations than others. For example, the Thomson Elite seatpost was tested by Microbac Laboratories to absorb just 0.025gs of vibrations while the Ergon CF3 was absorbing 0.375gs.
But interestingly, data recently collected by the University of Exeter (England) suggests that once the seatpost is installed on a bike, it may not reduce vibration exposure.
That said, this test was conducted using rigid carbon and aluminium seatposts, so it’d be interesting to find out whether suspension seatposts are more effective using the same test protocol.
The Spring Systems of Suspension Seatposts
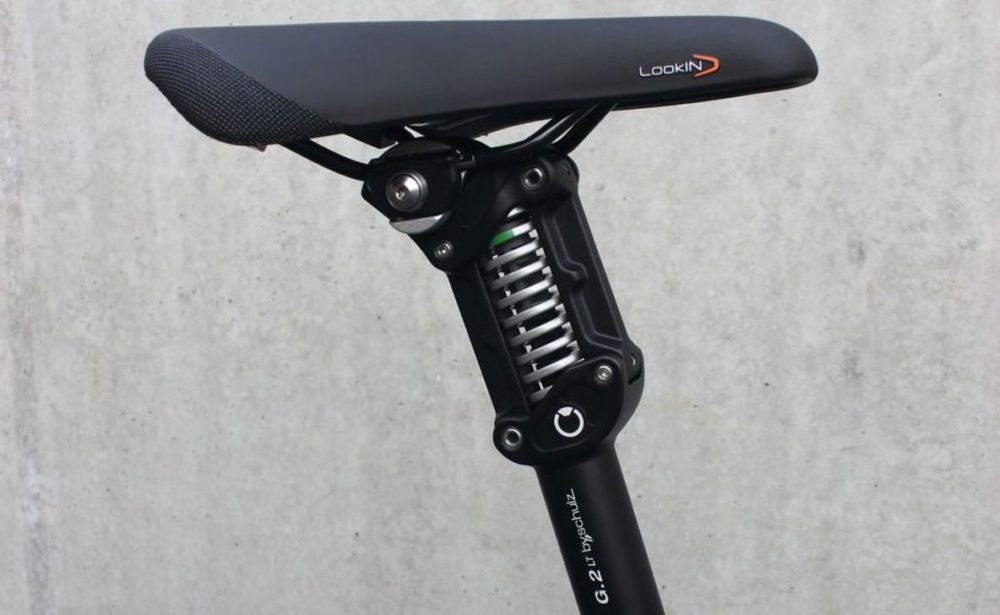
1. Coil Springs
The best way I can describe spring seatposts is that they’re very springy! This makes them exceptional on off-road terrain, as they’re super responsive to bumps.
But there is a cost to this high reactivity. I’ve found that when spring posts are perfectly set up for rough terrain, they bob more than I’d like on smooth surfaces.
The easiest way to reduce this movement is to adjust the spring pre-load – or the amount of force required to cause the saddle to start moving. This will stop the saddle bob, but will also reduce the seatposts ability to take the edge off small bumps.
If smooth roads are your thing, you’ll likely find spring seatposts a bit too active. This brings me to elastomers…
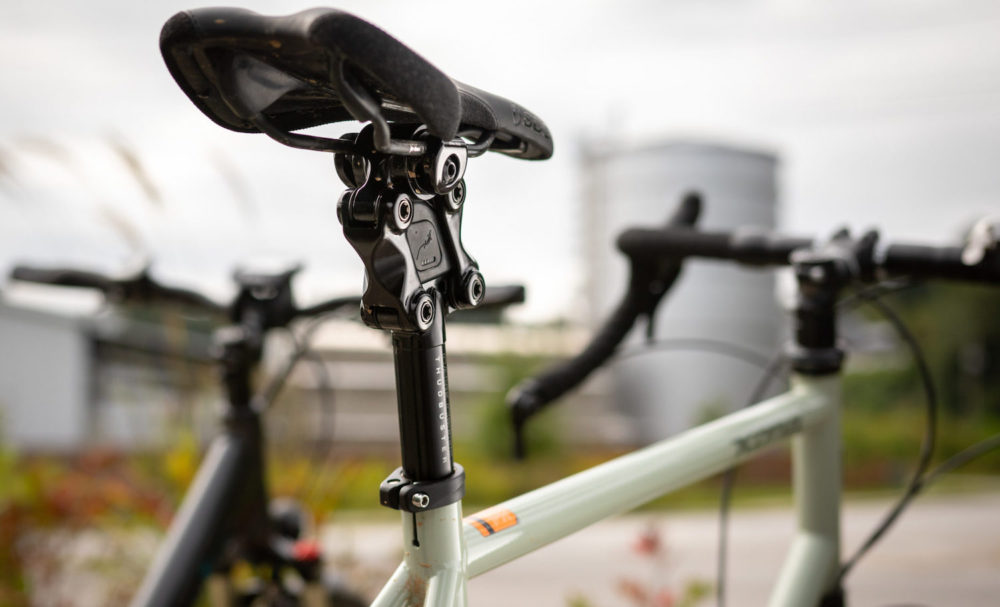
2. Elastomer Springs
Elastomer springs are the quiet achievers as they are much less noticeable underneath you. This is the result of elastomers having an inherently slower rebound speed after an impact, which is particularly beneficial while riding on fast, bumpy surfaces like gravel roads.
I tend to prefer the ‘muted’ feel of an elastomer post. It feels more natural, for lack of a better word.
The downside to elastomers is that they can firm up in cold conditions, rendering them less effective – so, skip this design if you need it to work well in sub-zero conditions. I’ve also found they require lubrication around the edges of the elastomer, although this maintenance is essentially solved with a simple seatpost cover.
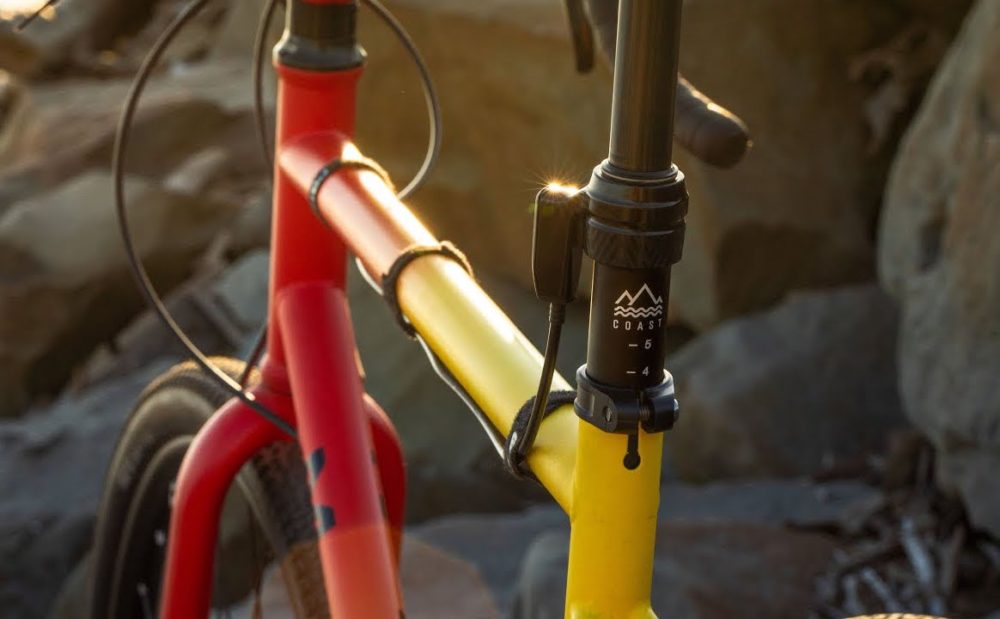
3. Air Springs
Lastly, we have air springs, which are sometimes used in telescopic seatposts. The main advantage is that you can adjust the spring stiffness to a higher degree of accuracy.
Suspension Seatpost Designs
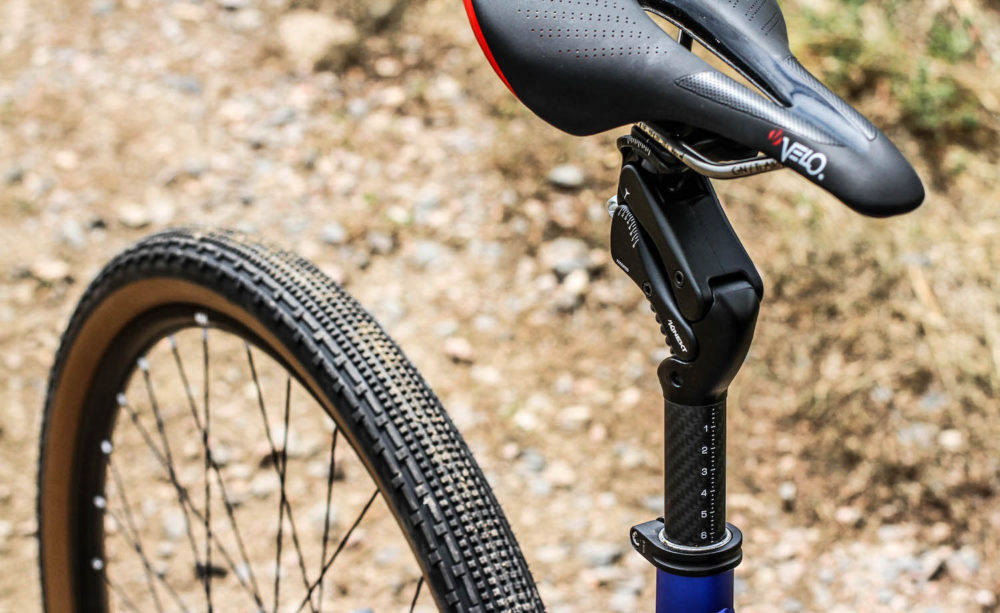
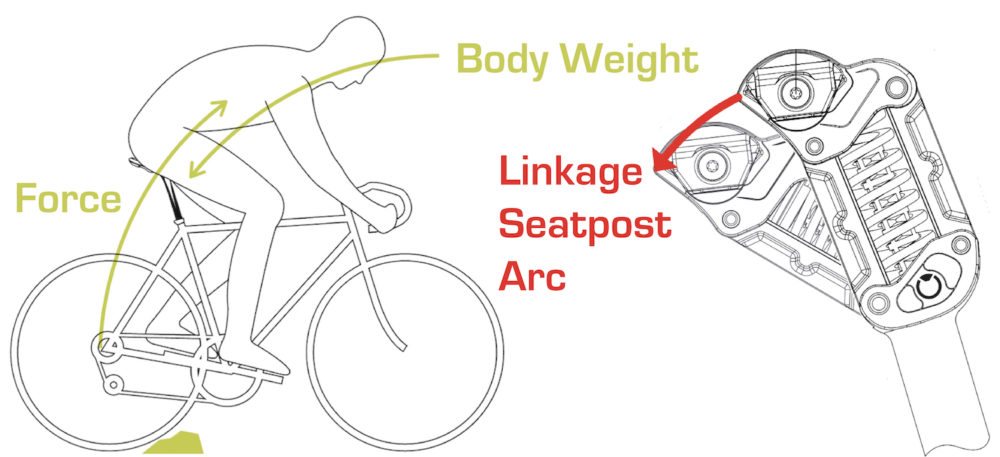
Linkage-driven suspension seatposts move in the same direction as the forces coming up from the rear wheel. This allows them to very effectively counteract (and even neutralise) bumps, reducing the impact forces travelling through your back and bum (see diagram below).
In addition, linkage posts ensure that the saddle-to-pedal distance is (mostly) maintained when the seatpost is compressed.
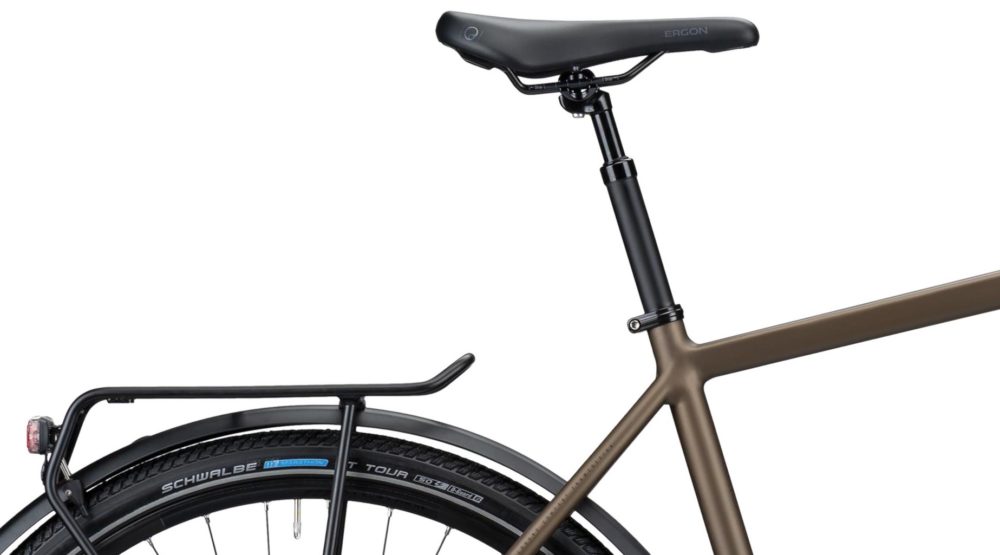
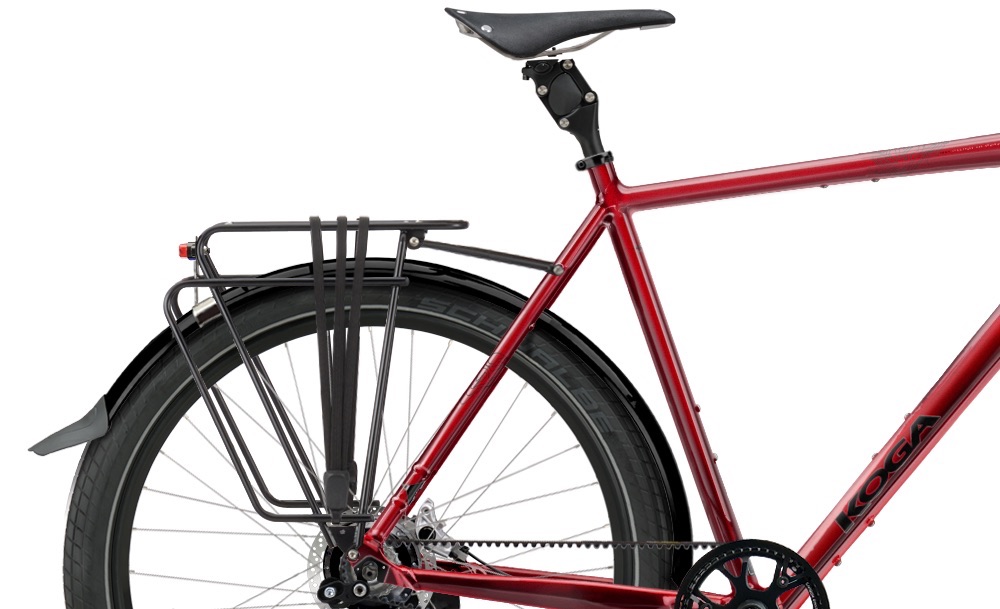
A telescopic post is usually considered inferior, as the angle that it compresses is different from the direction of force coming from the rear wheel – resulting in a less reactive suspension system. Telescopic posts also end up with a shorter saddle-to-pedal distance when you are riding over bumps.
Despite their flaws, telescopic posts are still very common as they’re often lighter, cheaper, more subtle, and have a lower installation height.
Suspension Seatposts Vibration Test
Let’s move on to the data to see how these different seatpost designs compare.
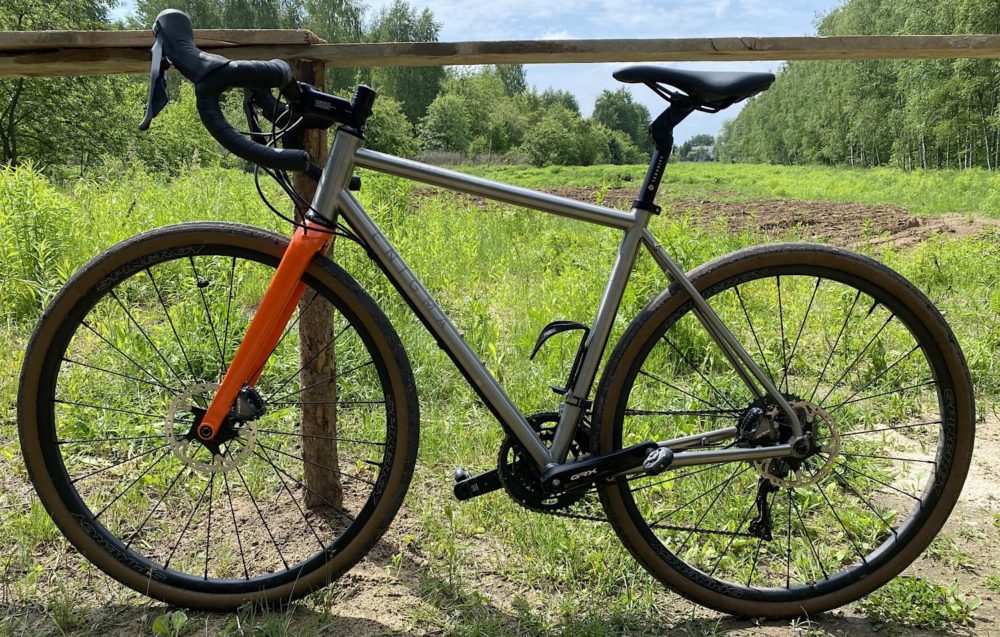
Krzysztof over at GravelBikes.cc has been using his smartphone with a vibration meter app to compare the vibration absorption of different bike components on both a bumpy forest trail and fast gravel road.
Bumpy Forest Trail (Test 1)
Carbon rigid seatpost – FSA K-Force – Typical carbon seatpost (2.9 m/s²)
Carbon leaf seatpost – Ergon CF3 – 10% less vibrations (~2.6 m/s²)
Spring seatpost – Redshift ShockStop – 24% less vibrations (2.2 m/s²)
Bumpy Forest Trail (Test 2)
Carbon seatpost – FSA K-Force – Typical carbon seatpost (2.9 m/s²)
Air seatpost – PNW Coast – 6% less vibrations (2.8 m/s²)
Elastomer seatpost – Cane Creek eeSilk – 10% less vibrations (~2.6 m/s²)
Spring seatpost – Kinekt 2.1 – 17% less vibrations (~2.4 m/s²)
On the rough trail, the spring seatposts are, by a large margin, the most effective at mitigating vibrations (17-24% improvement when compared to a carbon seatpost).
Meanwhile, the elastomer Cane Creek eeSilk offers around half as much vibration improvement, however, it’s worth noting that it only has around half the suspension travel (20mm). It’d be interesting to see how a longer-travel elastomer seatpost compares here.
And finally, the air seatpost improved things a bit (6% improvement) but clearly requires a higher bump force to activate than other suspension seatposts.
Fast Gravel Road (Test 1)
Carbon seatpost – FSA K-Force – Typical carbon seatpost (3.8 m/s²)
Air seatpost – PNW Coast – Same vibration level (3.8 m/s²)
Carbon leaf seatpost – Ergon CF3 – 13% less vibrations (3.3 m/s²)
Spring seatpost – Redshift ShockStop – 21% less vibrations (3 m/s²)
Fast Gravel Road (Test 2)
Spring seatpost – Kinekt 2.1 – 10% less vibrations (3.4 m/s²)
Elastomer seatpost – Cane Creek eeSilk – 17% less vibrations (~3.15 m/s²)
The gravel road with fast, repetitive bumps narrows the difference between an elastomer seatpost and a spring seatpost despite the variation in suspension travel. This is because the bump force is lower on gravel roads, which means that the spring post is likely only using half its travel anyway.
The air seatpost showed little difference from the typical carbon seatpost in this test.
Choosing The Suspension Travel
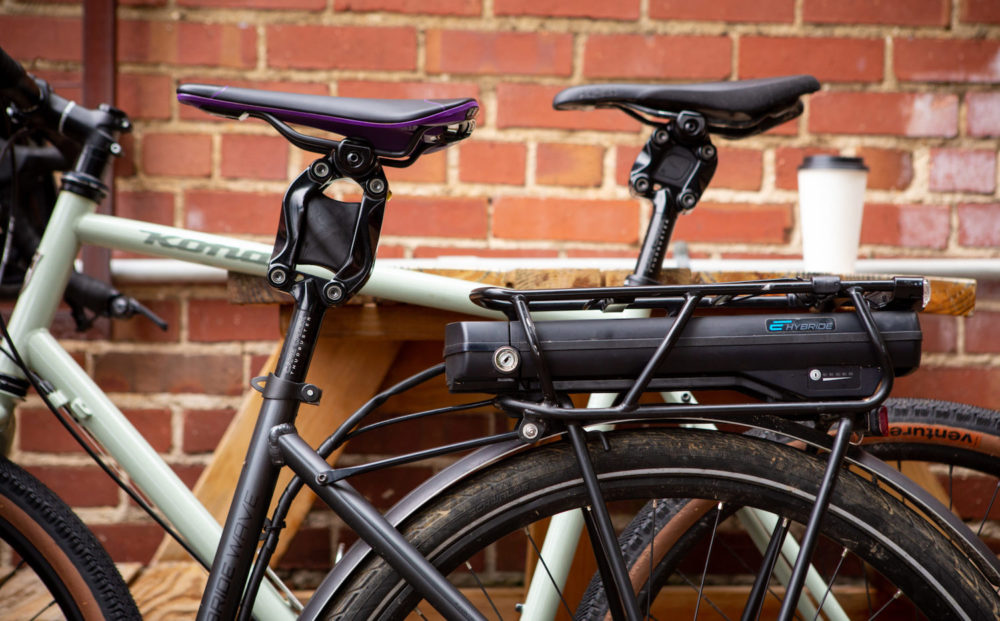
Suspension seatposts are available with anything from 20 to 90mm of travel. So, how much travel is best for you?
Rougher roads warrant more suspension travel
As we just saw in the test, if you’re riding on rougher terrain with larger forces coming from the rear wheel, you will benefit from more suspension travel as it can dampen more vibrations. I’d say most rough roads can be comfortably cycled with just 35mm of travel, but 50mm+ may be required if you’re hitting bumps at a higher speed (on an eBike, for example).
More upright riding positions are also better suited to longer suspension travel
This is simply due to the higher percentage of weight on your saddle. Conversely, if you have more weight on your hands because you ride in a more sporty position, you can get away with less suspension travel.
Best Suspension Seatposts
Coil Sprung
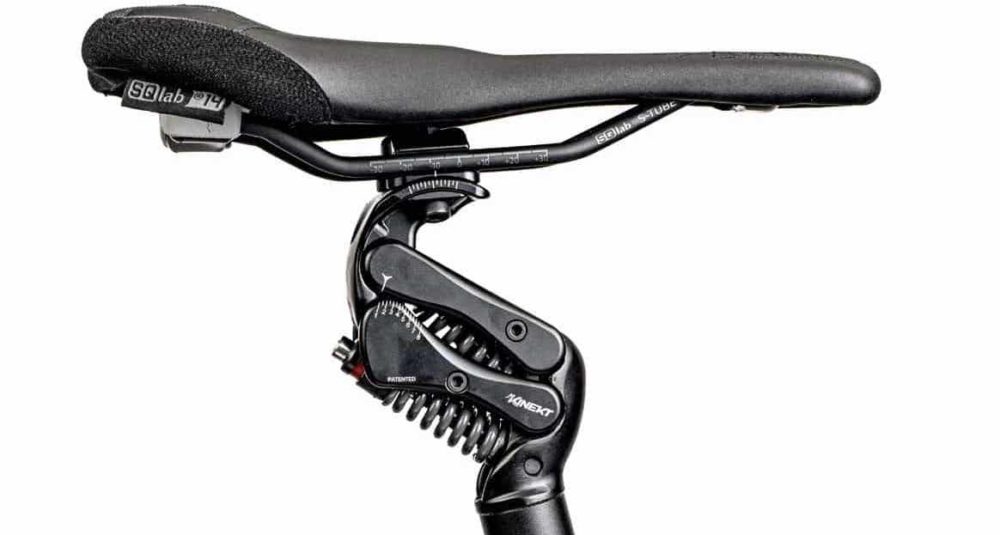
These seatposts are particularly active or ‘bobby’ in the initial part of their travel, so they tend to be better suited to rougher trails, rather than smoother roads – in my experience.
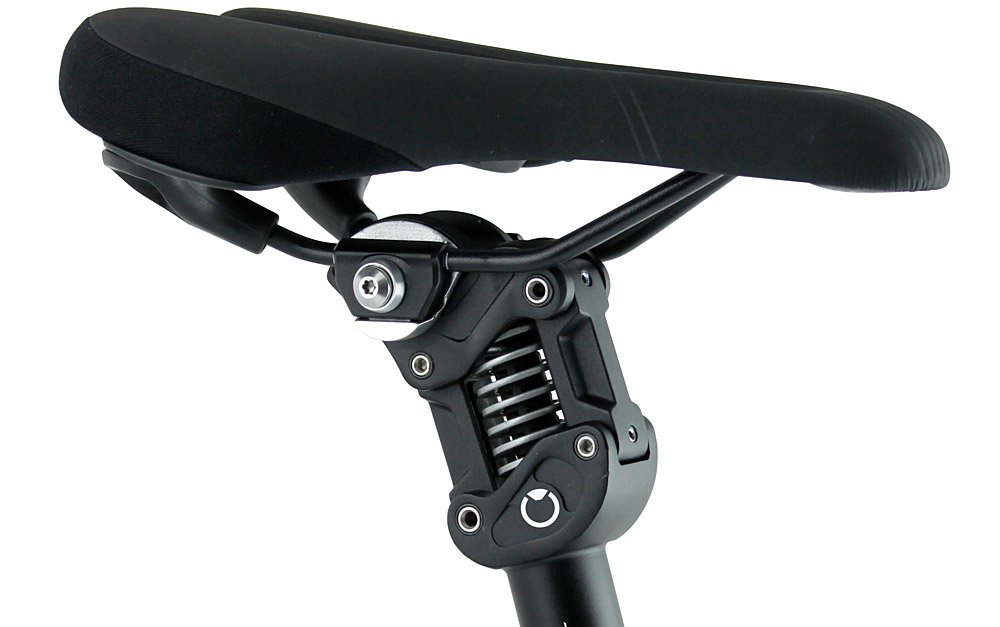
That said, you can quickly firm things up without using any tools via the preload “control knob”, which is an optional extra for $16.
Buy the Kinekt for $249 on Amazon – 25.4, 27.2, 30.9, 31.6mm
Buy the Kinekt carbon for $329 on Amazon – 27.2mm
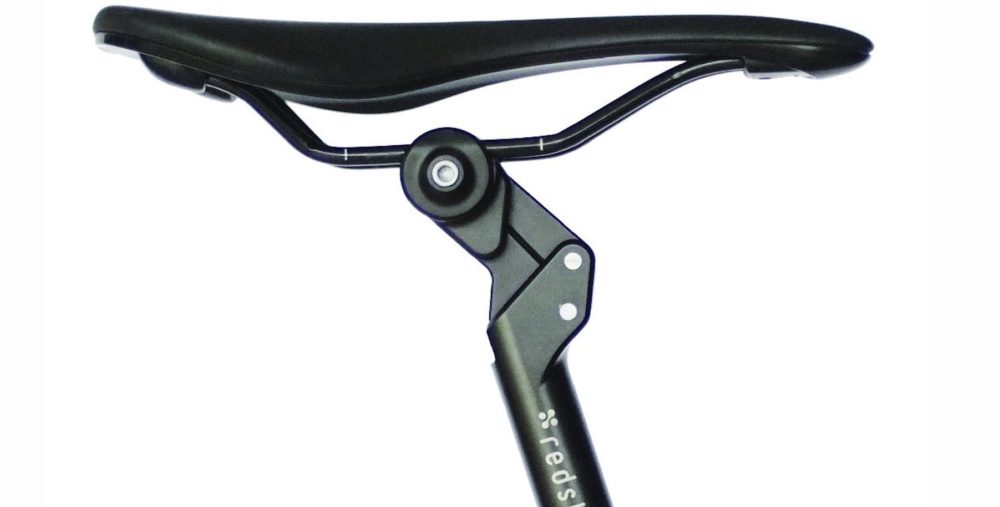
The Redshift Shockstop is the best coil-sprung post I’ve tested, as it seems to do a great job of absorbing off-road bumps without bobbing too much on smoother roads.
However, it still isn’t perfect.
When I got the pre-load right for off-road terrain, I found there was more bob than I’d like on the road. Unfortunately, the pre-load bolt is not particularly accessible as it’s at the bottom of the seatpost, so it’s not an adjustment that you’d want to make too regularly.
The Shockstop weighs 547 grams and can be used by riders up to 110kg.
Buy it for $229 on Amazon – 27.2mm only (shims available)
The By.schulz G.2 is a very highly-rated seatpost. There is a short-travel version with 30mm, and a long-travel version with 50mm of suspension.
You can choose from five different spring rates, which will suit riders all the way up to 150kg/330lb. There are ten different diameters too, making them suitable for almost every bike.
The downsides to this seatpost are that there is no pre-load adjuster, so you might find it springy sometimes, and it’s heavier than most (around 700 grams).
Buy it for $188 on Amazon
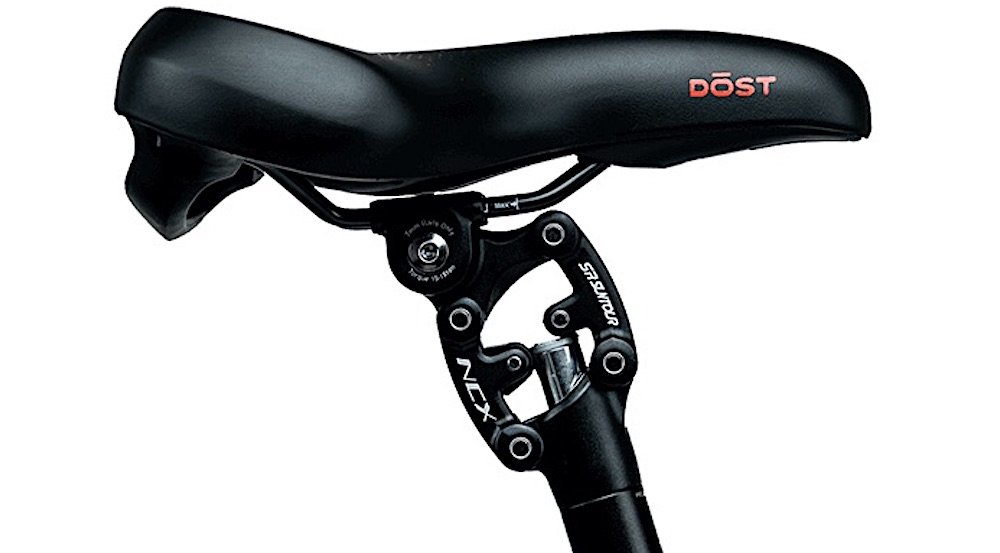
The low-cost suspension post of choice is the Suntour NCX.
At around $100, it’s a complete bargain, but there are downsides – it’s pretty heavy (~800 grams) and it comes with only one spring rate out of the box – although softer or firmer springs are only $15.
The maximum rider weight is 120kg.
Buy it for:
Suntour NCX 27.2mm – Buy on Amazon
Suntour NCX 30.9mm – Buy on Amazon
Suntour NCX 31.6mm – Buy on Amazon
Elastomer Sprung
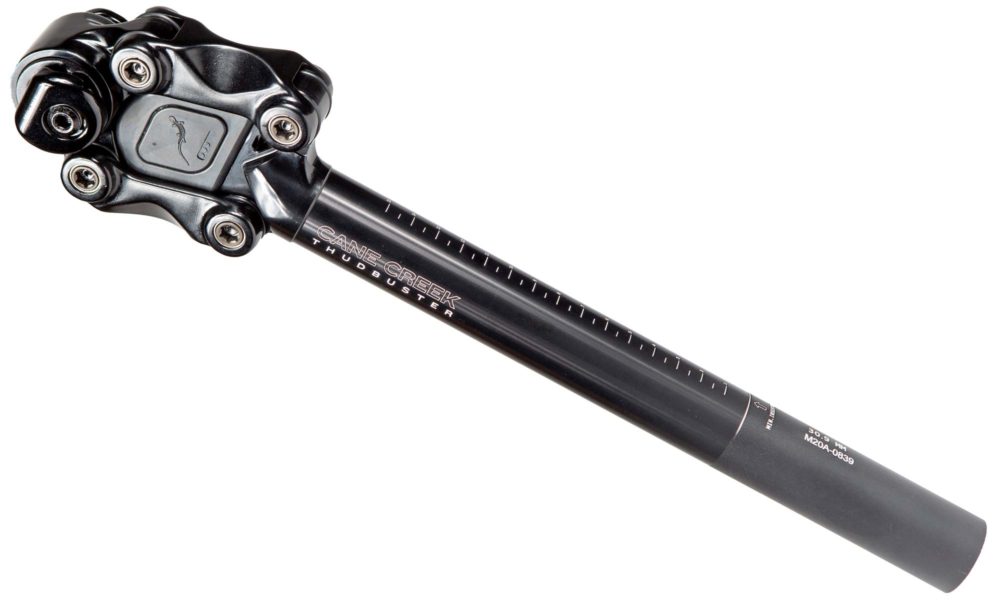
I’ve spent years on the previous version of the Cane Creek Thudbuster. With its slower rebound speed, I think it’s a great option if you ride a larger percentage on smoother surfaces, as you don’t really notice the suspension bob. The 50mm of travel is ample for off-road use too.
There are four spring rates to choose from suiting riders right up to 150kg.
Buy it for:
Thudbuster 27.2mm – $179 on Amazon
Thudbuster 30.9mm – $179 on Amazon
Thudbuster 31.6mm – $179 on Amazon
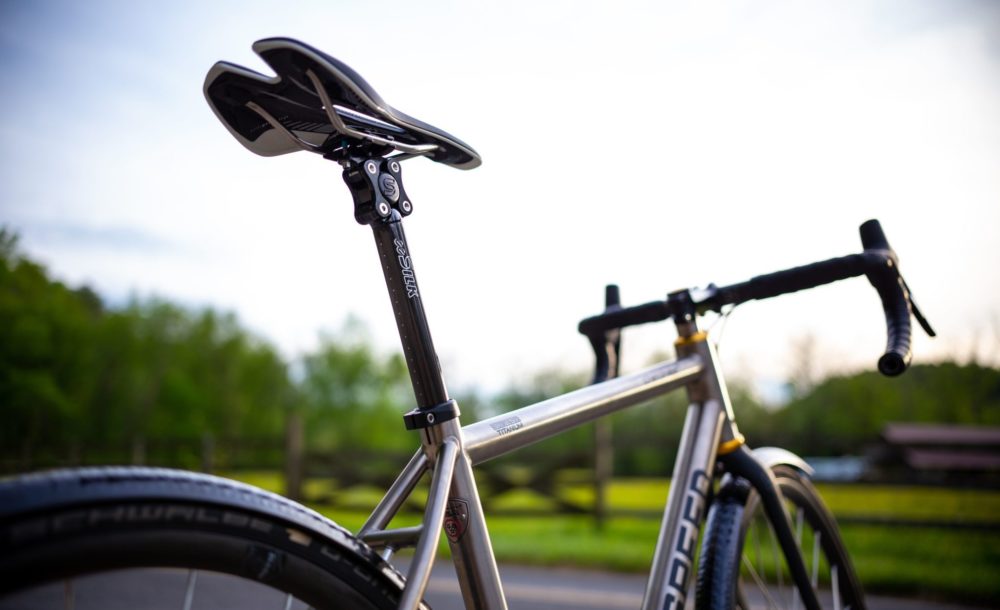
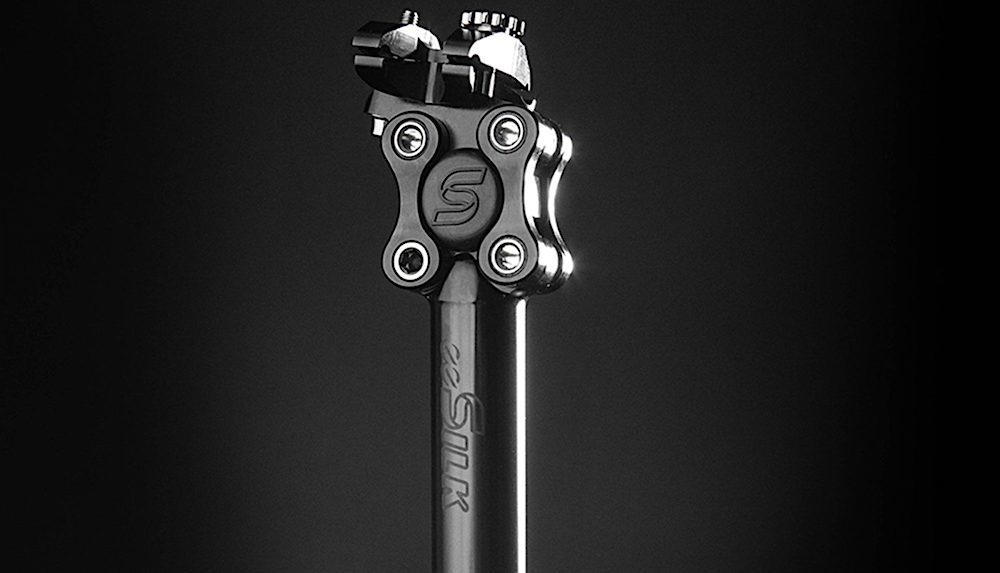
If you ride a mix of gravel and tarmac roads, I don’t know if you can do any better than the Cane Creek eeSilk.
At half the weight (~300 grams) and half the travel (20mm) of most squishy posts, it performs closer to the best carbon seatposts available.
But the key difference to a carbon post is that the spring rate isn’t determined by how much exposed seatpost you have, allowing you to tune it perfectly to your body weight, using the five different elastomers available.
Buy it for $199 at Nashbar
Dropper Suspension Seatposts
Regular dropper seatposts have very little vertical flex, which is an unfortunate consequence of their telescoping design.
If you love dropper posts but also want to maximise your ride comfort, there are actually two suspension options available, and a third in the works (Redshift). There is also a model that is rigid at the highest and lowest positions of the dropper, but offers ~10mm of travel when you set it anywhere in the middle (Bike Yoke Divine SL).
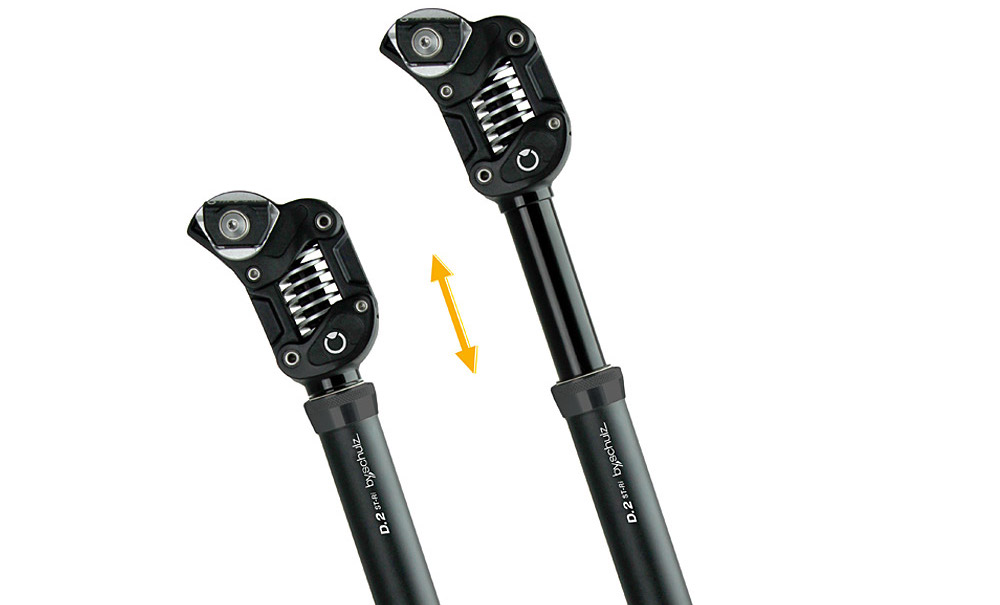
The best-performing model is the Byschulz D.2 ST. It costs a small fortune, but this coil-sprung option will stay incredibly active on bumpy roads. Like the regular Byschulz ST post, there are multiple spring rates to choose from and 30mm of travel.
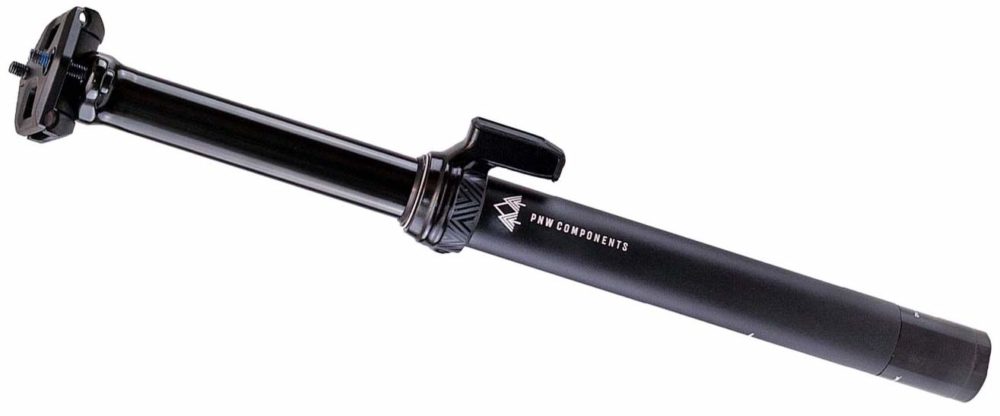
The other dropper option is the PNW Coast, which has 40mm of suspension travel and is the best-value dropper, by far.
This air spring system has been tested by GravelBikes.cc to be much less active than other suspension seatposts, but it’ll still take the edge off those bigger hits, and performs well on gravel roads too.
Buy it for $179 on Amazon
Summary
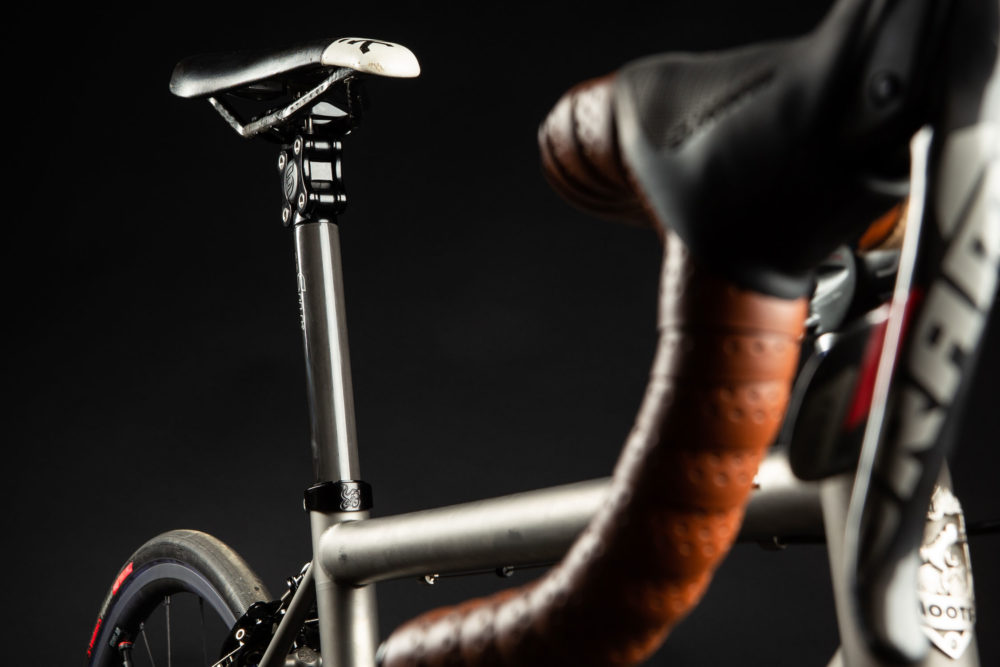
A suspension seatpost is a great comfort upgrade, as it will both absorb bigger hits, as well as dampen vibrations coming up from the road. This essentially means you’ll feel fresher at the end of a long ride.
For anything slow and off-road, you cannot beat a spring-damped seatpost. These posts are incredibly active underneath you and will allow you to stay seated on rough surfaces for MUCH longer.
If you ride a decent percentage on smoother surfaces or are sensitive to suspension bob, you will prefer elastomer seatposts as they’re less noticeable underneath you.
The Cane Creek eeSilk is what I personally use and recommend.
It’s great if you have a ‘sporty’ ride position like me, or if you mostly ride smoother roads. Given it only has 20mm of travel, you will have to compromise on the rougher roads, but I still find it offers a significant comfort improvement over a regular post. Plus it doesn’t bounce, it’s light and it’s elegant.
What is your experience with suspension seatposts?


