Table of Contents
I’ve made my quest for the most comfortable bike as objective as possible.
Most of my vibration tests have been conducted using a smartphone and a vibration-measuring app. For front vibration measurement, the smartphone was mounted on my wrist, and for rear vibration measurement, the smartphone was mounted on my back. I then measured the vibrations of different bikes and components on a bumpy forest trail and a fast gravel road.
This approach was successful but with a few drawbacks that I’ve discussed at length HERE.
I’ve now got a new outdoor vibration measurement procedure, and this time my results are:
– Repeatable in all weather conditions (eg. hot, cold, dry, or wet)
– Comparable between tests conducted on different days (allowing us to better benchmark products)
– Measured on the bike rather than the rider (taking out the damping effect of the rider)
– Taken at typical gravel cycling speeds (20 to 25 km/h)
The best bit is that my new approach to vibration testing yields results consistent with my previous outdoor comfort tests and treadmill tests.
Front and Rear Vibration Measurements
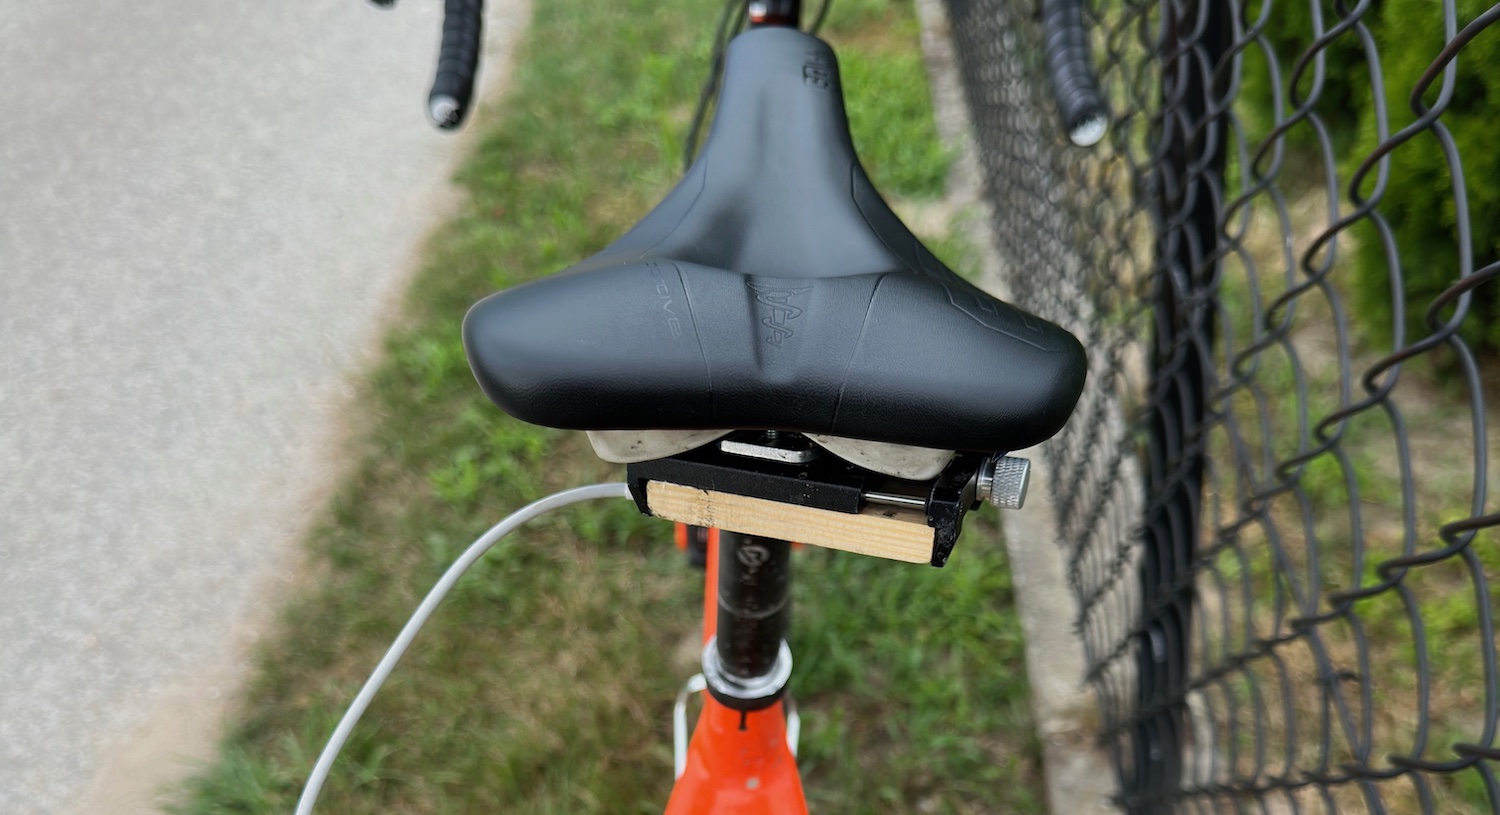
I’m using an Arduino Nano BLE 33 accelerometer that’s powered via USB. With help from the developer of Vibration Analysis, I was able to configure the accelerometer exactly for these comfort tests. I’m able to collect very detailed data – the measurement frequency is 500 Hz.
I measure the vibration under the brake hoods and saddle to remove the damping effect of the human body. This gives us clear a indication of both the front and rear comfort of the bike with a given setup.
Benchmark Bike Setup
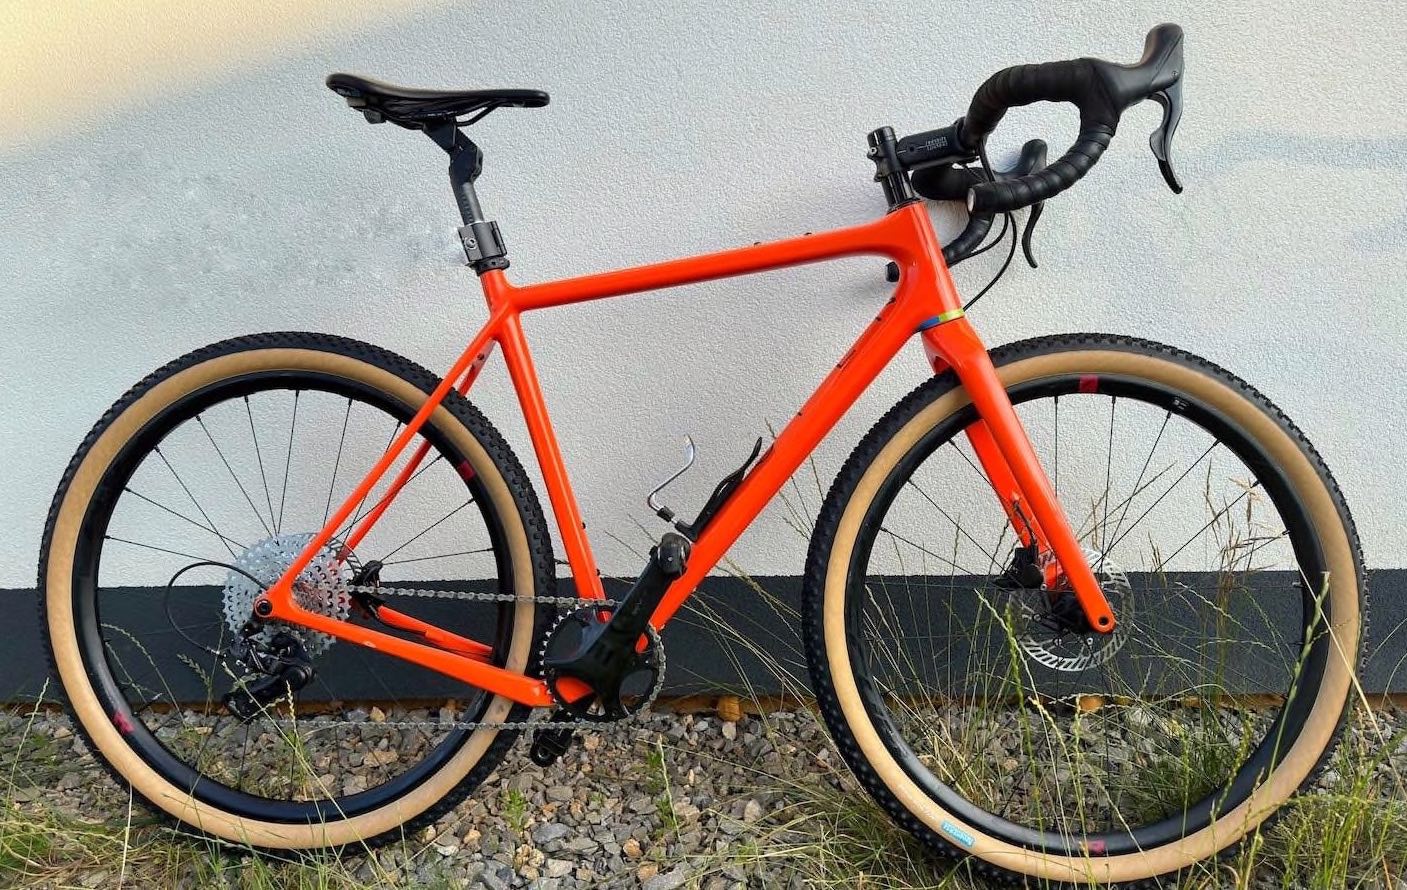
I’m using my Open WI.DE benchmark bike as a point of comparison between different bikes and components.
The Rene Herse Umtanum Ridge 650B x 55 mm tires on this bike are inflated to a rather high 35 PSI air pressure (2.5 Bar). This high pressure ensures the tires have a minimal impact on the vibration results.
If I’m using tires of different widths I calculate the appropriate tire pressure using Laplace’s law. This allows me to maintain the same tire casing tension for all tests.
Laplace’s law states that the tire casing tension = internal pressure x tire radius. When you put the different tire dimensions into the equation, you find out that you need to use lower air pressures on wider tires to achieve equal tire casing tension to narrower tires.
Big Hit Test
To determine how a bike or component handles a big hit, I lay a single wooden block that’s 50mm long and 30mm high on a smooth, flat asphalt road.
I ride over this obstacle at a speed of 20 km/h and measure one very clear bump event. I remain seated for the test and do not pedal while recording the vibration data.
Fast Gravel Road Test
To determine how a bike or component attenuates vibrations on fast gravel roads, I’m using an obstacle almost 300cm/118″ long with 34 wooden slats mounted at random intervals. The bump frequency is high enough to properly simulate the high-frequency chatter of a gravel road.
Just like the single wooden block test, I ride over this obstacle at a speed of 25 km/h. I remain seated for the test and do not pedal while recording the vibration data.
This 300cm test can also be considered an overall performance test because it contains a bigger hit too – that’s the one at the beginning when I ride onto the obstacle. I’ve chosen not to use the vibration data recorded when riding off the obstacle as it’s inconsistent between tests.
Multiple Test Runs
I conduct nine test runs in each scenario.
I exclude the two highest and two lowest measurements to ensure that slight speed fluctuations are not impacting the results in any significant way. I then calculate the average vibrations of the five remaining test runs, and these are the results you see.
If you have any questions about my test procedure, feel free to ask in the comment section below.


